
If you had asked me a few months ago, I would have told you that getting a wall mount was outrageous.
Well, here I am with the very thing. Even though I would be considered young by most of my peers, I would like to think that I’ve played my fair share of records. As such, I have a fairly good understanding of how to put on a new cartridge, setup the tonearm cartridge, and adjusting the tracking force and anti-stake.
All of these things are required to own a turntable. No, they don’t require a masterful understanding, but at some point you will be required to do one of these things. Personally, I am the “set it and forget it” type of person. This is why I chose a Rega turntable in the first place. Speaking strictly from an usability standpoint, I don’t think anyone would disagree if I said that Rega turntables are just that.
They may not be the classiest looking, but they have performance where it counts. And I truly do believe in their design mantra, to reduce mass as much as possible, since mass stores energy (aka vibrations). I’ll speak more about that in a future post. For now, let’s talk about this wall mount and how it came to be.
The case of the curious toddler
I suspect that the wall mounts were made with kids in mind. I mean, I know that they were made to solve other problems, but I would wager that a sizeable amount of people have it due to kids. I’m one of them. In what seemed like an overnight growth spurt, my kid went from not being able to touch the turntable at all to being centimeters away from the needle. Actually, I believe that, if it were not for the protective case, he would have wrecked that cantilever on the cartridge long ago.
So, here I am, unable to play vinyl and searching for a solution. My wife reminded me of the shelf and from then, it was off to the races. I did my research and eventually settled on the dedicated wall mount from Rega. For those interested, this isn’t the first time I’ve had to shake up the system in response to a growing kid. Previously, I had to change out my speakers for something far more kid friendly and easier to fix.
Price and Specifications
The base price of the wall mount is a cool $195. If you’re lucky, you can score one cheaper on the used market. If you’re even luckier, you have a cool dealer who is willing to give you a great discount. I mention “base price”, because if you have a RP6, RP8, or RP10, you must also buy adapters that screw onto the top of the wall mount. If you need these, it’ll set you back an additional $105. That brings the total to a cool three hundred bucks.
I would be lying if I didn’t say that I gawked at that price. It seemed absurd for something that I could build with $40 worth of supplies from home depot. But we can talk if it was worth it later. For now, let’s look at the rest of the specifications.
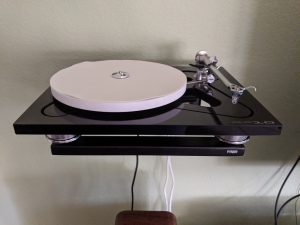
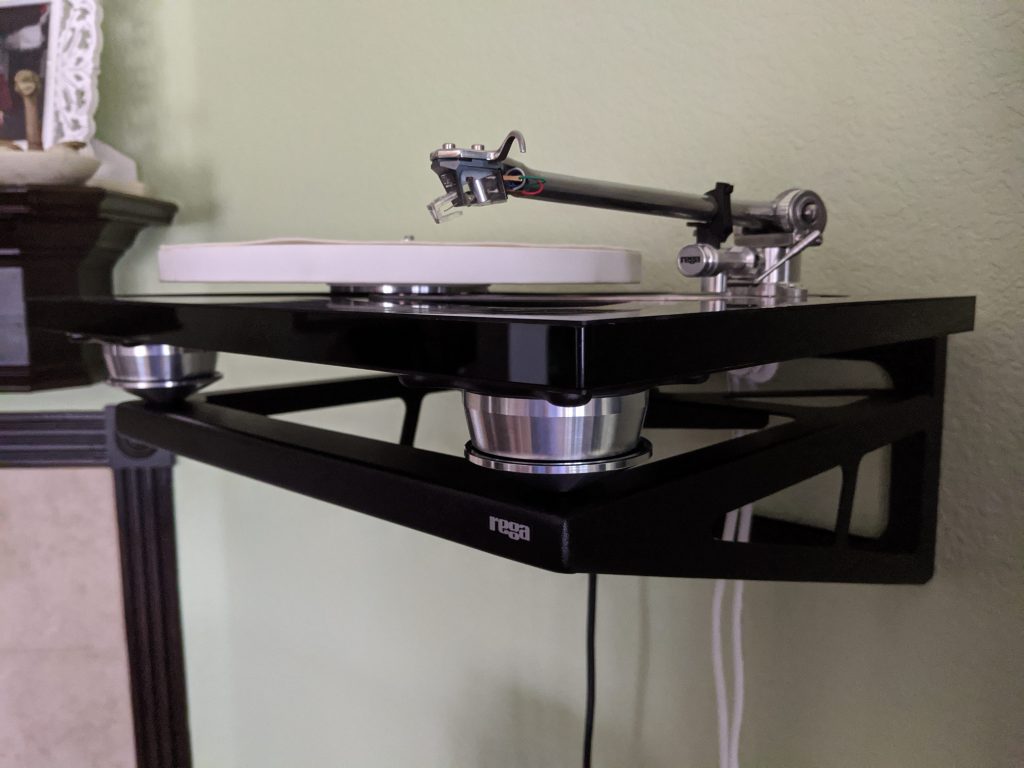
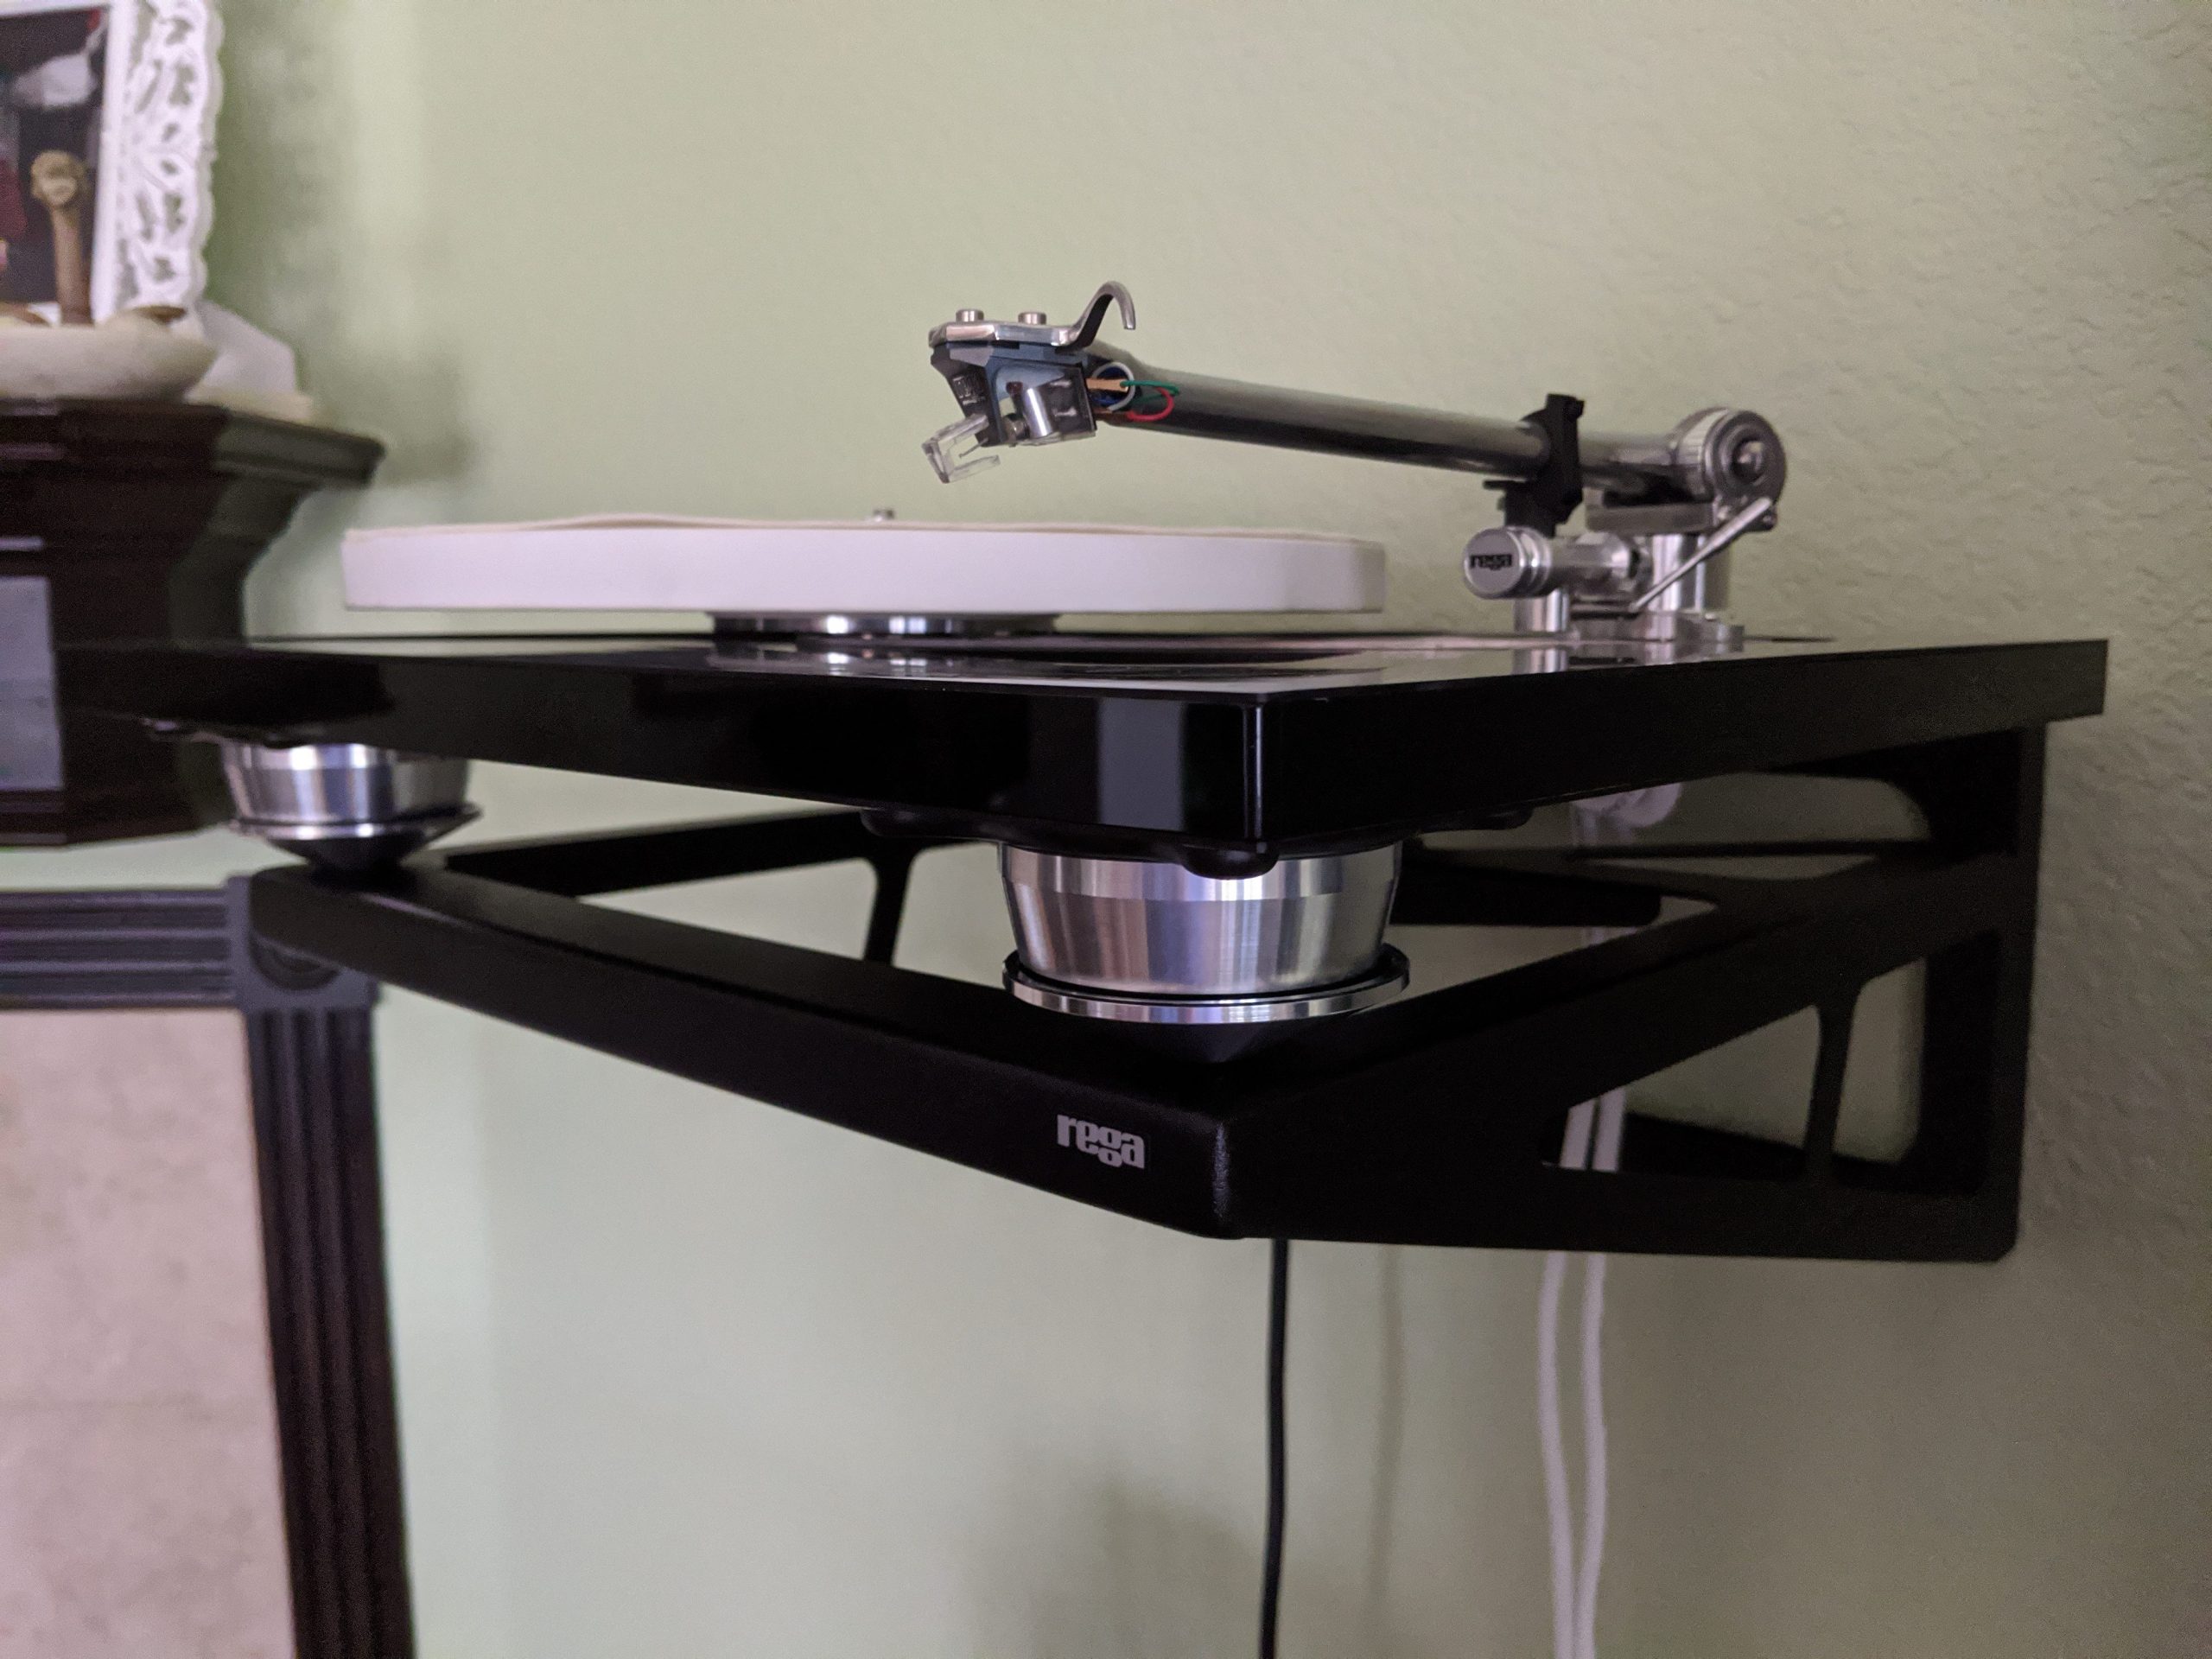
The stand comes in at a nice 2.2 lb with the dimensions 4.75″ x 15.75″ x 6.9″ (WDH). There are only two screw holes for mounting, the top two. The bottom ones are used for leveling the stand front to back.
A word about build quality
The shelf was packaged well enough in a nondescript box, without so much as a Rega logo. To be honest, when I initially took the shelf out of the box, I thought the build quality was rather poor. Did I really spend all that money on something that weighs less than the turntable? Well, yes. And it’s that way for a reason.
After taking some time to look over the construction of the shelf, I concluded that my anger was unfounded and my faith restored. The shelf is very solid and it feels like you could stand on it without it giving way.
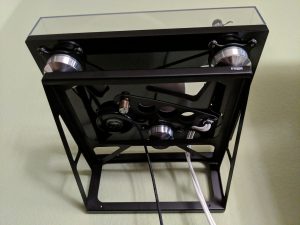
The adapters on the other hand were very well wrapped in a small box. It seemed like far too much wrapping paper, but when finally unwrapped you can feel the quality of the adapters. They are milled out of solid aluminum and have a great heft to them. They also come with aluminum screws for attaching them to the base and little rubber pads that sit inside.
While the packaging wasn’t anything special, it really gave the wall shelf that extra “wow” level when everything was said and done.
Installation
Installation was fairly simple. Since the table doesn’t have any left to right leveling, it becomes paramount that you level the shelf prior to drilling the holes. As with any Rega turntable, you’re also limited by the lengths of the power and rca cables. To most this wouldn’t be an issue, but it’s still worth noting
To those with a keen eye, you’ll notice that the wall mount is not at least 16″ wide – the standard distance between studs. This means that, without putting a backing plate on the wall, only one of the two screws will be going into wood.
You heard that correct, two screws. Only the top to screws go into the wall, the bottom two are used for leveling.
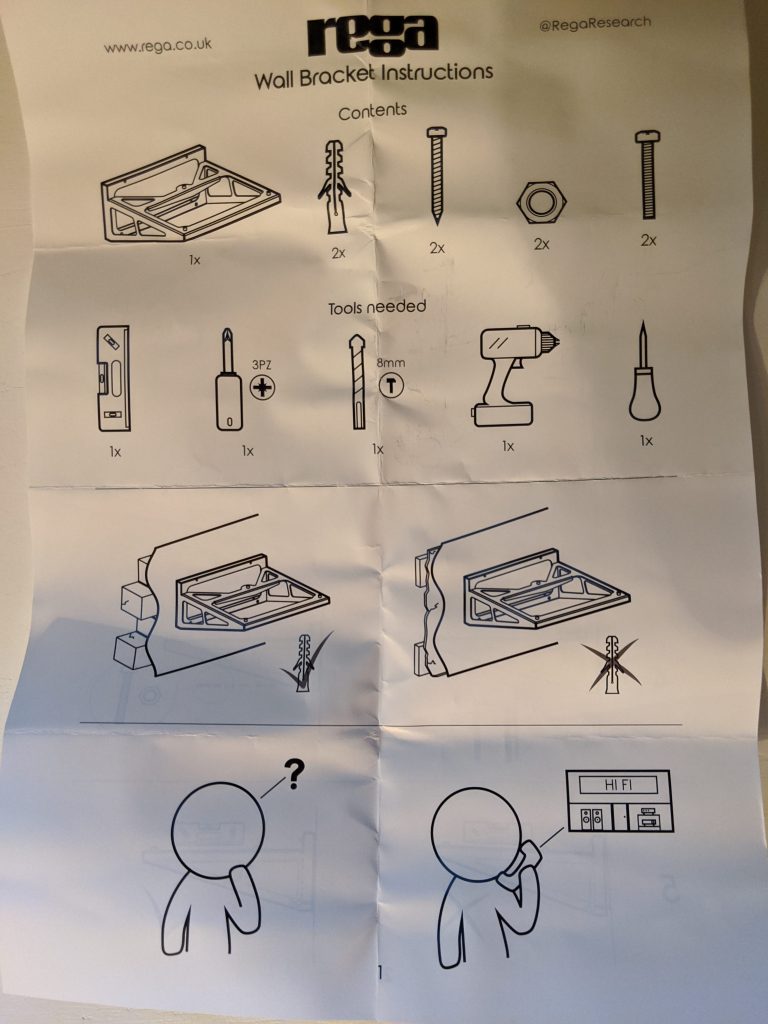
Oh and on that note, I have to say something about the rather hilarious instructions provided with the turntable. If I didn’t know any better, I’d say that they hired out IKEA to make them.
Just have a look. I wish I could make this up. But hey, some instructions are better than none.
Listening Notes
I remember when I first looked up about why people used shelves. It was usually related to the vibrations from people walking nearby causing the needle to skip. Sometimes it was just related to the structure being so “unstable”. In either case, a wall shelf solved the problem every time. And in every one of those cases, the shelf was praised.
I wasn’t sure if I’d hear any difference. The RP10 was already on a very sturdy and heavy TV stand; I could jump a foot way from the table and it still wouldn’t skip. Here I was though, dropping the needle for the first time, unsure if my money was going to result in any difference in sound quality.
I couldn’t have been more wrong.
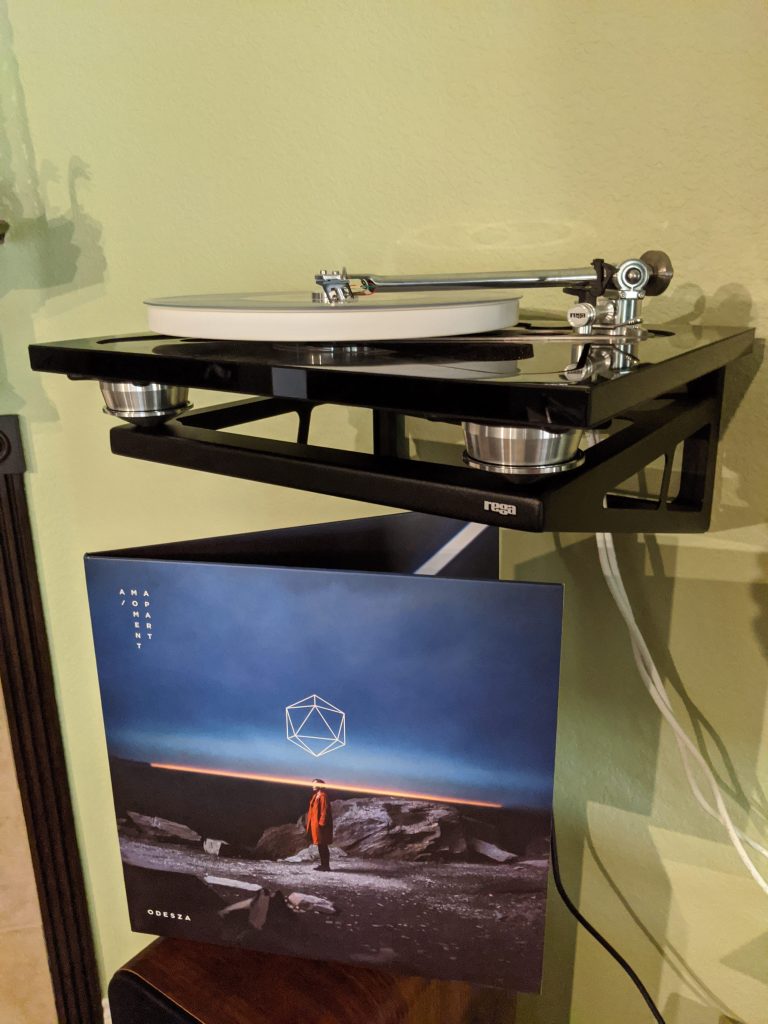
That first album was Odesza’s “A Moment Apart”. It’s a personal favorite as I’ve probably listened to it a few dozen times. I already thought my system was quiet, but I knew within seconds that this was something extra.
Whenever a noise floor is decreased, everything above it benefits as sounding clearer, more dynamic, and with greater separation. That’s exactly what happened here and it almost brought tears to my eyes.
As I sat there listening to the album, my jaw remained dropped throughout the entire duration. I found myself paying more attention to background instruments that previously, while not unnoticed, were not nearly as audible. I had to move my table back to the TV stand to confirm if I was hearing things or not.
I wasn’t.

Okay okay, onto the next album. Something a bit slower. One of my favorite bands just up the road, Midlake, was up next with their wonderful “The Trials of Van Occupanther”. A dark background wasn’t as noticeable here, but I attribute that to the recording and mastering. Still, I felt as if there was three-dimensional layer that wasn’t there previously.
That’s not to say that album didn’t have great imaging before, but this was the first time I remember so clearly being able to pick out not just how far the singers were from left to right, but also front to back. The album had my attention (again!) from beginning to end.
The final album here for my listening notes is probably one of the most well known, “Currents” by Tame Impala. Well, I’d like to think that they’re popular, but maybe that’s only to people don’t listen to the top 40 consistently. Circling back to the album though, even though the previous two albums showed so much improvement, I was unsure if the same would hold true for the third. While the mastering on Currents is great, the album never really took me for needing a proper stereo system to enjoy.
It’s refreshing to be wrong three times in a single night. I would say that the shelf had the biggest impact on Currents, again due to that lowering of the noise floor. Kevin’s voice became laser focused as the melody flowed around him with every song. It almost brought tears to my eyes. Almost.
Conclusion
It’s not everyday that something so affordable, relatively, comes along and makes this big a difference. While I wish the packaging was a little more solid, the shelf still arrived in one piece and without any damage. Installation was a breeze, though the non-standard distance between screw holes may leave some hesitant.
Sound-wise, this bracket hits it out of the ballpark. From bass response to sound-stage clarity, everything was improved by this bracket. It’s an easy recommendation for me.
Rega Turntable Wall Bracket
Pros
- Stable
- Improves an already great table
- Light
Cons
- Light
- Price
Fantastic review of a great product in a real world situation. I too have come to the realisation that one of these is just what I need and the sonic benefits will be a bonus. Mine is ordered.